
How to Cultivate Sourdough Starter
- Cara Russell Buckner

- Nov 14, 2022
- 3 min read
Updated: Nov 15, 2022

Before you venture into the alchemy of sourdough making you have to become a gardener, of sorts. By tending to a little jar of wet flour, your goal is to cultivate a healthy harvest of wild yeast and Lactic Acid Bacteria (LAB).
You'll know they've arrived when bubbles develop in the flour and water mixture. This micro community leavens, gives rise and bubbles, and adds a delicious tangy (sour) flavor to your bread.
Disclosure
There are some Amazon affiliate links on my site, and I may make a small commission from purchases made through those links, at no cost to you..
INGREDIENTS LIST
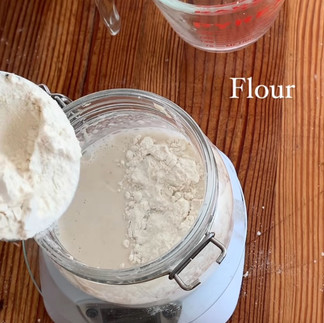
Flour
*An unbleached all-purpose or bread flour is fine for beginners.
Water
*Avoid chlorinated water, and let water stand 30 minutes if your water is chlorinated.
Optional: drop of honey/ a single raisin/ tablespoon of pineapple juice
*Using a little sugar for the first feeding can help kick things along.

SUPPLIES
Jar with a loose fitting lid
Spoon or spatula for mixing
Rubber band, string, erasable marker, or piece of tape for tracking the rise of your starter
*Note: Ratios, or parts, are used when feeding your sourdough starter. If you've ever made a simple syrup you may know that it calls for equal parts sugar and water, making it a 1:1 ratio. The parts can represent grams, tablespoons, cups, etc, as long as they’re equal parts. In this sourdough starter recipe we will use a 1:3:3 ratio, one part unfed sourdough starter, three parts water, and three parts flour.


DIRECTIONS

Day 1:
Measure out and add to your jar 25g flour and 25g water, (or 1Tbsp flour and 1Tbsp water). Mix the ingredients until combined.
Optional: You can add a little sweetness on the first day to encourage development. Use a drop of honey, substitute 25g of water with pineapple juice, or toss a raisin in.
Loosely cover your jar with cloth, a paper towel, coffee filter, etc., and seal with rubber band, so air can move freely, but nothing else can get in. Fruit flies, for example, love sourdough starter.
Place a rubber band, or other marker, around the height line of your starter right after feeding, so you can measure any rise from fermentation.
Place your starter in a warm location, 77-100 degrees F.
*If you have a cold house, try placing your starter into your unheated oven with the light on. This will create a warm environment.


Day 2 - 10: (or beyond)
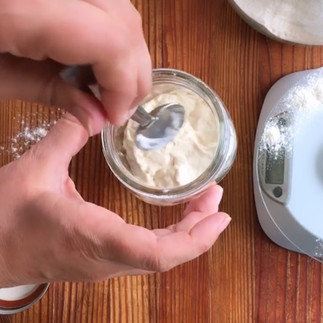
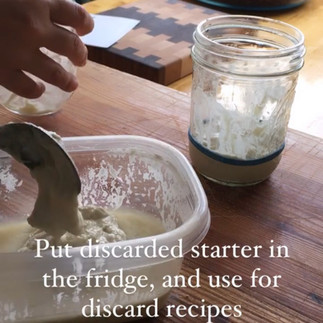
Discard all but 25g of starter, or 1-2 tablespoons. Discarding doesn't mean you have to throw it out. You can keep your discard in a jar in the fridge and use for discard recipes, or any recipe that calls for water and flour. If you added a raisin on the first day, you can remove that too.
Feed the 25g of starter 75g water and 75g flour. Mix together. Or measure out in tablespoons 1:3:3:
Loosely cover jar, add the rubber band marker, and place in a warm location.
*Why discard most? You’re feeding your starter in ratios, so if you feed the entire starter every day without discarding, you'll have a much larger portion to feed, and will quickly end up with way too much starter after just a couple feedings.
Repeat steps 1-3 everyday until your sourdough starter doubles in volume at its peak. The peak is the highest your starter rises before it begins to fall again.
Possible Problems: If your starter smells acidic, like nail polish remover, that means it's starving and needs more food.
If your starter is growing some strange things on the surface, and is looking like a petri dish, toss it out and start over. You can also try and salvage a small amount at the bottom that doesn't have any mold. If you're following the recipe, you shouldn't have any of these issues.

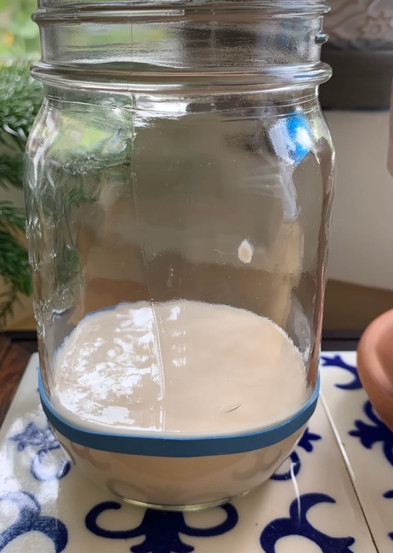


Above: Here's a time-lapse showing the rise, peak, and fall of my sourdough starter after a feeding. It was a hot summer at the time, and the whole process took under four hours.

FINAL RESULT
Your sourdough starter is a couple weeks old, all grown up and ready to start making bread.
FEEDING ONCE A DAY: If you bake multiple loaves a week, you may need to feed your starter everyday, or even twice a day, and continue to keep it at room temperature. Increasing the ratio to 1:5:5 or higher extends time between feedings.
FEEDING ONCE A WEEK: If you bake a loaf a week, you can now cut back to feeding your starter once a week, or less, and keep it in the fridge. After feeding, let it rise and double before placing in the fridge.


Thanks for the recipe and steps so clear and easy to follow. With the discard when we put it in the fridge how do we use it without throwing it away? Thank you